So, for this week's edit, I thought I'd do a little Lightroom tutorial, since I know Ashley doesn't have that program and I'm a big believer in learning how to do things the long way. Presets and actions are awesome, but it's SO helpful to know how to create the affect yourself....then you can better adjust the action to your own photo too!
So, for this week's Shoot and Edit, I'm gonna talk about this photo:
(SOOC)

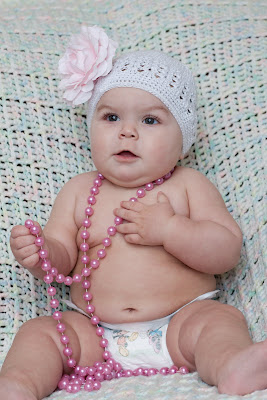
I love this SOOC shot. One thing I nearly always do when I edit photos is sharpen the eyes. In Lightroom, the "clarity" slider is kinda like the "Unsharpen Mask" in Photoshop. I'm not crazy about the way unsharpen mask sharpens....I prefer to sharpen with a high pass filter, (which isn't an option in Lightroom) but I really like Lightroom and if I've shot an event (lets say, a wedding) Lightroom really lets me do basic editing easily on massive amounts of photos, quickly so I can focus on doing creative and advanced edits on select images. (For example, I shot a birthday party a couple weeks ago. I was there for 3.5 hours, and left with around 300 images. I take 25-30 images and do full, creative & advanced edits on them. The other images I do basic editing for in Lightroom only...)
So, I needed to find a way to edit the eyes better in Lightroom. Here's what I came up with...
After you do your basic exposure/light balance, etc edits, select the adjustment brush.
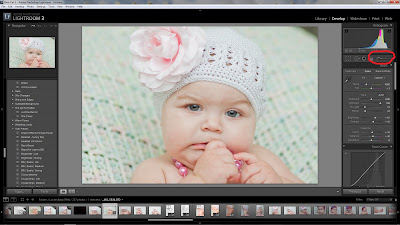
Now, I may not be the brightest bulb in the pack, but I didn't even know this tool existed for weeks after I started using Lightroom......
So anyway, select the adjustment brush....now your lightroom panal will look like this:
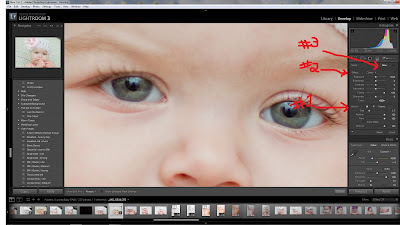
So, because I numbered things backwards, the first thing you do is select "New" (#3) Now where it says "Effect" (#2) Choose "Clarity"....under the "Effect heading there are subcategories. On the clarity one, push the slider up to 100...and then where it says "brush" (#1) choose A, 100 for feather, flow, and density...choose a size appropriate for your image (you can change the size of the brush as you go along).
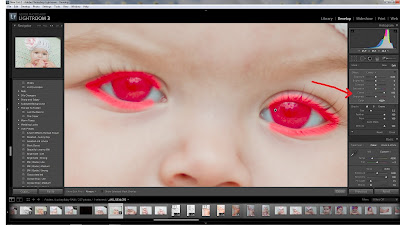
Now, click somewhere on the iris of the eye. A dot will appear. If you hover over this dot, red will appear where you have brushed over. This is REALLY handy, and will TOTALLY freak out your husband when we walks into the room and see's a baby with glowing red eyes on your screen..... I digress....
Brush over the iris, pupil, and the lash lines on each eye.....like this:
So now, go back up and select "New" again. This is VERY important. Now select "Exposure" under effect. Slide the exposure sub category slider up to .29 (It's all about subtle...) Select somewhere in the iris, but not on the first dot we used for clarity. Now brush over the iris/pupil area:
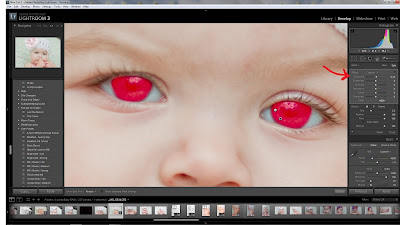
You can adjust the exposure subcategory slider to whatever looks good, but just remember that subtle is the name of the game. I usually pick something between .20 and .45.
Now select "New" again, and exposure..... set the exposure subcategory slider to .20, and select somewhere on the white of the eyes. Now brush over all the white..
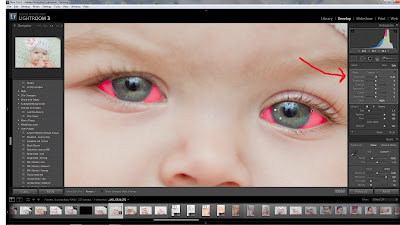
For this, I always adjust the slider to somewhere between .10 and .30...and always less than what I set the exposure for the iris at.
Select the "Adjustment Brush" tool again to close. Now bump up the overall exposure just a touch, and up the fill lights a little, and there ya have it! Eyes edited in Lightroom!
Here's the before/after side by side
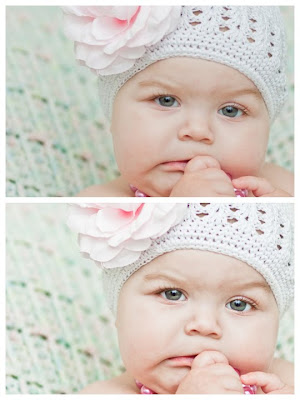
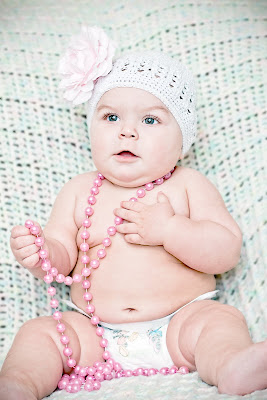
and here's my full edit, done 100% in Lightroom...

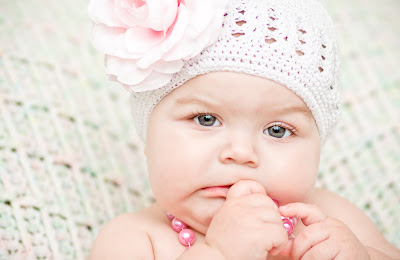
Of course, I did go into CS5 and play for a bit though.... here's my CS5 edit
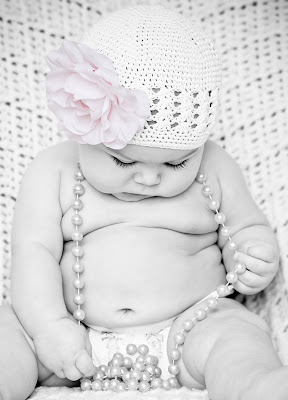
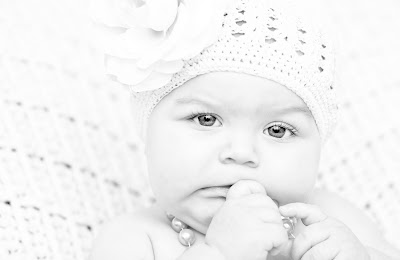
and a b&w edit....I LOVE b&w :)
and real quick, here are my other edited images :)
SOOC
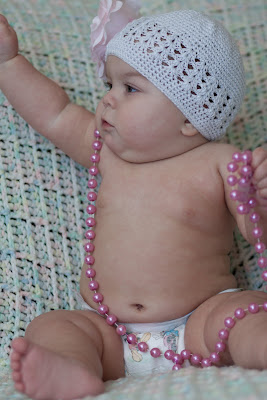
Edit
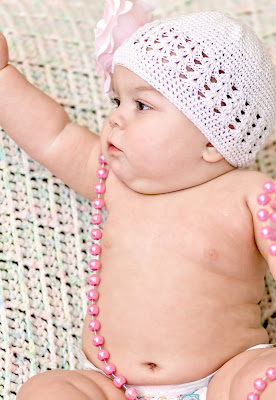
SOOC
Edit
SOOC
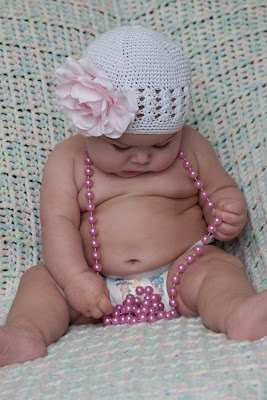
Edit
